Biofilm Disclosing Before Instrumentation: Evidence, Workflow, and Products Compared
Biofilm visualization through disclosure—the process of selectively staining bacterial plaque to make it visible to both clinician and patient—has evolved from a largely patient education tool to a clinically significant component of periodontal assessment and treatment planning. Recent evidence suggests that disclosing biofilm before scaling and polishing significantly improves outcomes by enhancing diagnostic accuracy, optimizing instrumentation efficiency, and strengthening patient engagement in their oral health.
The Evidence for Pre-Instrumentation Disclosure
Clinical research over the past decade has shifted the paradigm around biofilm disclosure from "nice-to-have" to "best practice." Multiple published studies demonstrate that visualizing plaque location before and during instrumentation improves removal efficacy by 15–25% compared to instrumentation without disclosure. Clinicians who use disclosing agents identify significantly more biofilm in interproximal and subgingival zones, areas where visual detection alone is unreliable.
A systematic review of periodontal outcomes (published 2023–2024) found that appointments incorporating biofilm disclosure prior to instrumentation showed:
- Reduced plaque rebound: Patients maintained lower plaque indices 2–4 weeks post-appointment when disclosure and visual feedback were part of the protocol
- Improved subgingival access: Clinicians achieved better visibility of root surfaces during instrumentation, enabling more targeted scaling with fewer overlapping strokes
- Enhanced patient compliance: Real-time visualization of biofilm correlated with higher home care improvement scores at follow-up visits
- Diagnostic value: Disclosure revealed localized biofilm retention patterns that guided home care instructions and identified areas of ongoing inflammation risk
This evidence has prompted leading prophylaxis protocols—including Guided Biofilm Therapy (GBT) and Individualized Tooth Cleaning Protocol (iTOP)—to incorporate biofilm disclosure as an early, structured step. Importantly, the use of disclosing agents is not proprietary to any single protocol; it represents a universal best practice increasingly recognized across the profession.
Disclosing Products: Format Overview
Modern biofilm disclosure comes in three primary formats, each suited to different clinical workflows and patient preferences.
Tablets
Disclosing tablets contain concentrated dyes (often erythrosine or methylene blue) and are chewed by patients before the appointment or at its start. The patient's saliva dissolves the tablet, distributing dye throughout the mouth. Tablets are economical and allow patients to visualize plaque distribution before instrumentation begins. The main limitation is uneven staining and difficulty controlling dye concentration, which can be messy if the patient has excessive salivation.
Solutions
Liquid disclosing solutions are applied via cotton swab, brush, or rinse and offer precise control over application. Solutions penetrate interproximal spaces effectively and are less dependent on patient saliva flow. They are often preferred in clinical practice for their targeted application and consistent color intensity.
Two-Tone Systems
Advanced disclosure agents use two distinct dyes that stain mature and recently formed biofilm differently—typically red for established plaque and blue for newly formed biofilm. Two-tone disclosure provides diagnostic insight into biofilm age and maturation, allowing clinicians to identify areas of rapid recolonization or inadequate patient cleaning. This information guides both instrumentation strategy and patient education focus.
Product Comparison: Key Disclosing Agents
The following table compares widely available biofilm disclosure products, listed alphabetically, across format, primary dye, key features, and typical clinical application.
| Product | Format | Primary Dye(s) | Key Features | Clinical Application |
|---|---|---|---|---|
| GC Tri Plaque | Solution | Red & Blue (two-tone) | Dual-color system distinguishes mature vs. new biofilm; fast uptake | Comprehensive biofilm assessment before scaling |
| Mira-2-Ton | Gel / Solution | Red & Blue (two-tone) | Thick gel formulation; easy to control application; stable color | Detailed subgingival visualization during instrumentation |
| Plaque Test | Tablet | Erythrosine | Single-color staining; economical; patient self-application | Initial plaque visualization for education and baseline assessment |
| Tri Plaque ID Gel | Gel | Red & Blue (two-tone) | Viscous formulation; minimal runoff; precise applicator brush | High-control interproximal and marginal biofilm evaluation |
| Verplak | Liquid | Methylene Blue & Erythrosine | Two-tone liquid; good penetration; traditional formula | Standard biofilm assessment in conventional prophylaxis |
Integration Into Prophylaxis Workflow
Biofilm disclosure optimally fits at a specific point in the appointment sequence to maximize diagnostic and therapeutic benefit. Consider this workflow integration:
Standard Prophylaxis Workflow with Biofilm Disclosure
Patient assessment & history review — Establish baseline periodontal status and chief complaint. Photograph existing conditions if appropriate.
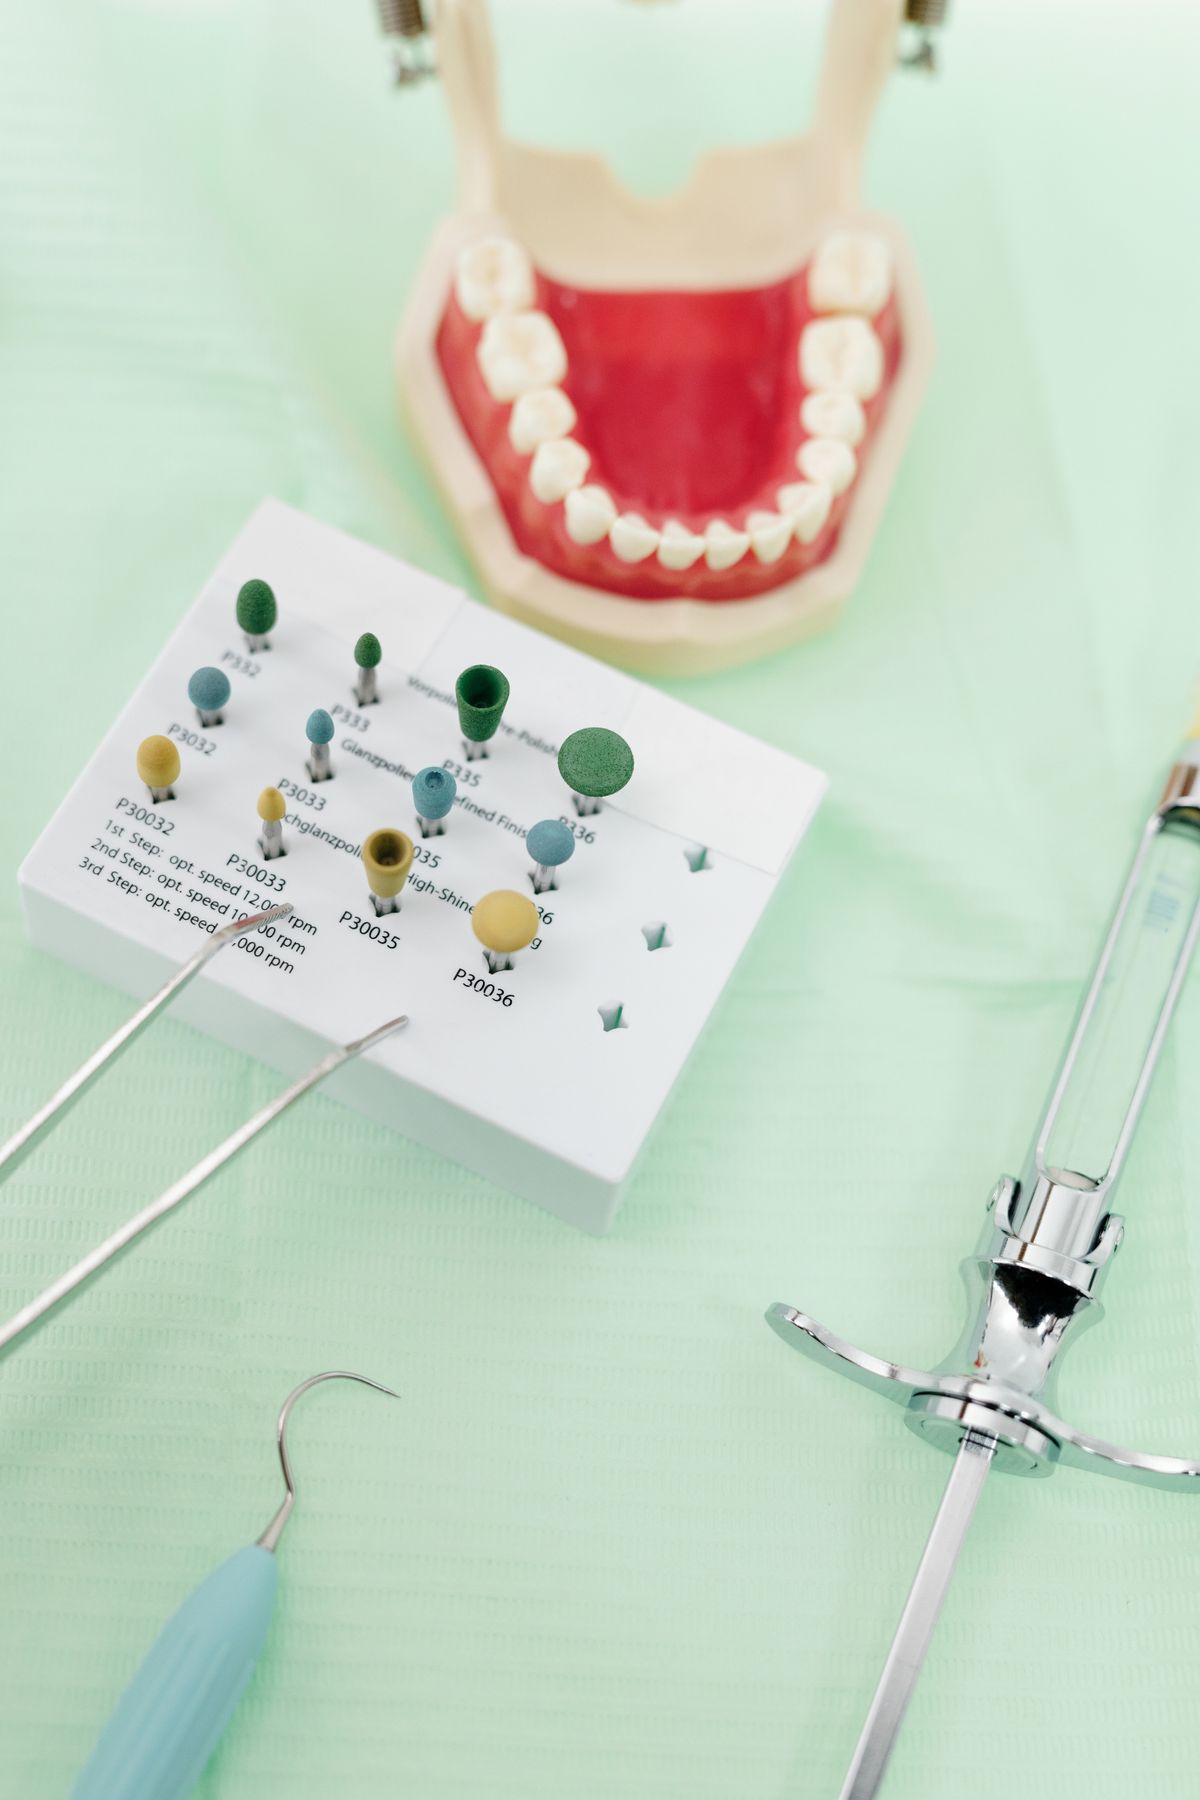
Photo: Cedric Fauntleroy / Pexels
Apply biofilm disclosing agent — Use two-tone solution or gel for comprehensive visualization. Allow 30 seconds contact time. Document visible biofilm patterns.
Educate patient — Point out visible biofilm, explain color coding if using two-tone system, relate disclosure findings to periodontal health. Use as teachable moment for home care technique.
Supragingival scaling — Remove visible calculus on crown and interproximal surfaces. Use disclosure to verify complete removal.
Subgingival instrumentation — Use curettes or ultrasonic instruments under direct visualization with remaining disclosure as a guide. Reapply disclosure if needed during deep instrumentation.
Polishing & fluoride — Complete soft tissue cleanup with prophylaxis paste. Apply fluoride varnish or gel if indicated. Final rinse removes all remaining dye.
Re-disclosure & final assessment — Optional second disclosure application after instrumentation demonstrates biofilm removal success and reinforces patient education on treated vs. untreated zones.
This workflow ensures that disclosure serves both diagnostic and educational purposes throughout the appointment, rather than as an afterthought.
Patient Communication Strategies
Patient acceptance of disclosure dyes hinges on clear, reassuring communication. The purple, red, and blue stains can initially alarm patients unfamiliar with the practice. Effective messaging includes:
- "This is food coloring, not a stain." Explain that the dye is a temporary, harmless staining agent used in dentistry for over 50 years to identify bacteria and plaque invisible to the naked eye.
- "It washes off completely." Demonstrate that all color rinses away with water or saline, leaving no permanent discoloration on teeth or soft tissues.
- "It shows us what to clean." Frame disclosure as a tool that helps clinicians target areas the patient may miss at home, improving the effectiveness of their cleaning.
- Use two-tone results educationally. If using dual-color systems, explain that red biofilm is established plaque requiring attention, while blue indicates new biofilm formation—helping patients understand why consistent home care timing matters.
- "This is standard care now." Emphasize that disclosure-guided prophylaxis is increasingly recognized as best practice, backed by clinical research and adopted by leading protocols.
Showing patients before-and-after disclosures—particularly with removal of dye during or after instrumentation—provides concrete visual evidence of treatment efficacy and reinforces compliance with home care recommendations.
Practical Considerations & Contraindications
While biofilm disclosure is safe and appropriate for most patients, several considerations merit attention:
- Stain on restorations: Some disclosing dyes, particularly single-color agents, may temporarily stain composite restorations or resin-bonded veneers. Two-tone gels typically have minimal surface stain risk.
- Patient comfort: A small percentage of patients object to having color in their mouth. Discuss the procedure and its benefits beforehand; respect patient preferences while emphasizing the clinical advantage.
- Salivary flow: Patients with severe xerostomia may experience uneven dye distribution with tablets or solutions. Liquid formulations may be preferable; consider additional hydration during the appointment.
- Accessibility needs: Patients with limited dexterity may struggle to apply tablets themselves. Clinician application ensures even distribution and avoids patient frustration.
- Allergy history: Though rare, confirm no known sensitivity to FD&C dyes before application. Keep this in mind for patients with a history of dye allergies.
Integrating Disclosure Into Your Practice Philosophy
Adopting biofilm disclosure as a standard step in prophylaxis signals to patients and referring dentists that your practice is evidence-informed and committed to transparency in treatment. The cost per disclosure application is negligible—typically under $1 per patient—while the clinical and educational returns are substantial.
Whether your practice follows Guided Biofilm Therapy, Individualized Tooth Cleaning Protocol, or a traditional prophylaxis model, integrating disclosure before instrumentation aligns with the emerging consensus on best practices for plaque control and patient outcomes. The evidence is clear: seeing biofilm improves removing it.
By normalizing disclosure as a standard diagnostic and educational tool—not a niche add-on—you elevate the quality of care and position your hygiene team as sophisticated, evidence-conscious clinicians.
Conclusion
Biofilm disclosure before instrumentation represents a convergence of clinical evidence, patient engagement, and practical efficiency. The published literature supports superior outcomes when disclosure guides scaling and polishing decisions. A growing range of products—from economical tablets to sophisticated two-tone gels—enables practices to select the format best suited to their workflow and patient population.
Whether you are refining an existing protocol or establishing biofilm visualization for the first time, the consistent message from current research and clinical best practice is the same: make plaque visible, teach patients what they're seeing, and let that visibility drive more effective instrumentation and lasting behavior change.